Batman uses a mask to obscure part of his face and change his appearance. Layer masks do the same thing. Layer masks and adjustment layers work much the same way, by placing a mask over a photo to hide or change the photo below.
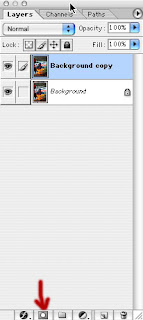
I like to create a duplicate layer of the original photo first in case I want to go back to the original. Do this by dragging the original layer (usually named background layer) to the new layer icon at the bottom of the the layers palette.
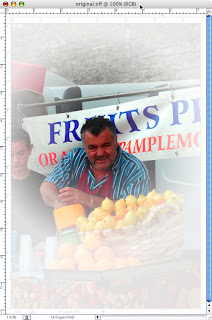
I started with this photo and will use an adjustment layer to change the saturation and lightness to fade the background. If I wanted the background black and white. I would slide the saturation all the way to eliminate the color.
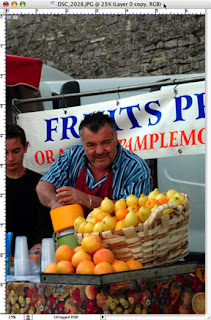
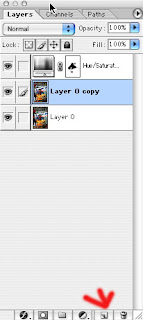
Once you click on the new adjustment button at the bottom of the layers palette, you'll select the adjustment you want. I'm using hue and saturation to fade the background. Just adjust the sliders until you get the parts you want faded the way you want them. The changes will affect the whole photo, but we will use the mask in the next step to bring parts back to life.
Now make sure the mask layer is selected by clicking once on the top layer in the layers palette which says hue and saturation.
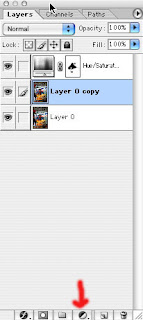
In your tools palette select the paint brush tool and choose a relatively large brush. I used 200 for this example. Painting with a black fill will eliminate the mask in that area and bring the color back to the photo. Switching to a white fill will mask the area again. You can use a shade of grey to change the opacity.
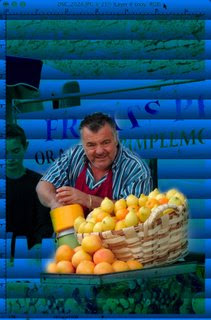
In this photo I used the black brush to bring back the man and one of the oranges.
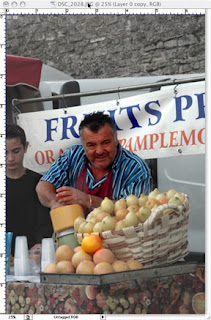
Layer masks are similar to adjustment layers and work the same way. Instead of selecting an adjustment to make using the mask, you use tools to draw on the mask. In this example, I'll use a radial gradient to fade the edges away.
In the layers palette select the layers mask.
With the layers mask selected, I use the gradient tool with a dark grey as the foreground color and black as the background color.

I'm using the gradient tool set to radial and I will click an hold the curser on the man's face and drag down and right to mask out the edges. Remember you're putting a mask over the photo... so drawing on the mask with black hides that part of the photo.
There are lots of effects you can achieve using adjustment layers and layer masks from all type of corrections to adding patterns as I've done here.
Using layer masks is also a simple way to blend multiple photos together. Play with masks and soon you'll be an expert at quickly modifying images. Email me if you have any questions.
I welcome your comments and suggestions.
Visit my other pages InDesignYearbook and PhotoshopYearbook
(c)copyright 2008 Bill Stoess Knoxville, Tennessee


